
How to Build a Custom Gaming PC: A Practical Guide

You've chosen your games, opened a dozen component tabs, and now you're staring at a graphics card wondering whether the rest of the machine can keep up. That's the point where a custom build either becomes a carefully matched system or an expensive collection of parts. In Sheffield, the practical answer is the same as anywhere in the UK: start with how you'll use the PC, then make every component support that target.
A custom gaming PC gives you control over performance, cooling, noise, storage and future upgrades. It also demands patience. The best results come from treating the build as a complete system, not from placing the biggest possible GPU in the basket and hoping everything else works around it.
Table of Contents
Starting Your Custom Gaming PC Journey - Think in systems, not shopping lists
Planning Your Components and Budget - Match the major components
The Assembly Process from Bare Bones to Power - Give the case a deliberate layout
BIOS Setup, Operating System and First Tests - Test in layers
Considering Professional Custom Build Services - When paying for assembly is sensible
Starting Your Custom Gaming PC Journey
The first useful decision isn't which processor to buy. It's whether you want to build the machine yourself, commission it, or upgrade an existing PC. DIY can be satisfying because you learn where every cable and component belongs, but it also leaves you responsible for compatibility checks, assembly and fault-finding. A professional build costs for the service involved, yet it can remove the most stressful parts of the process.
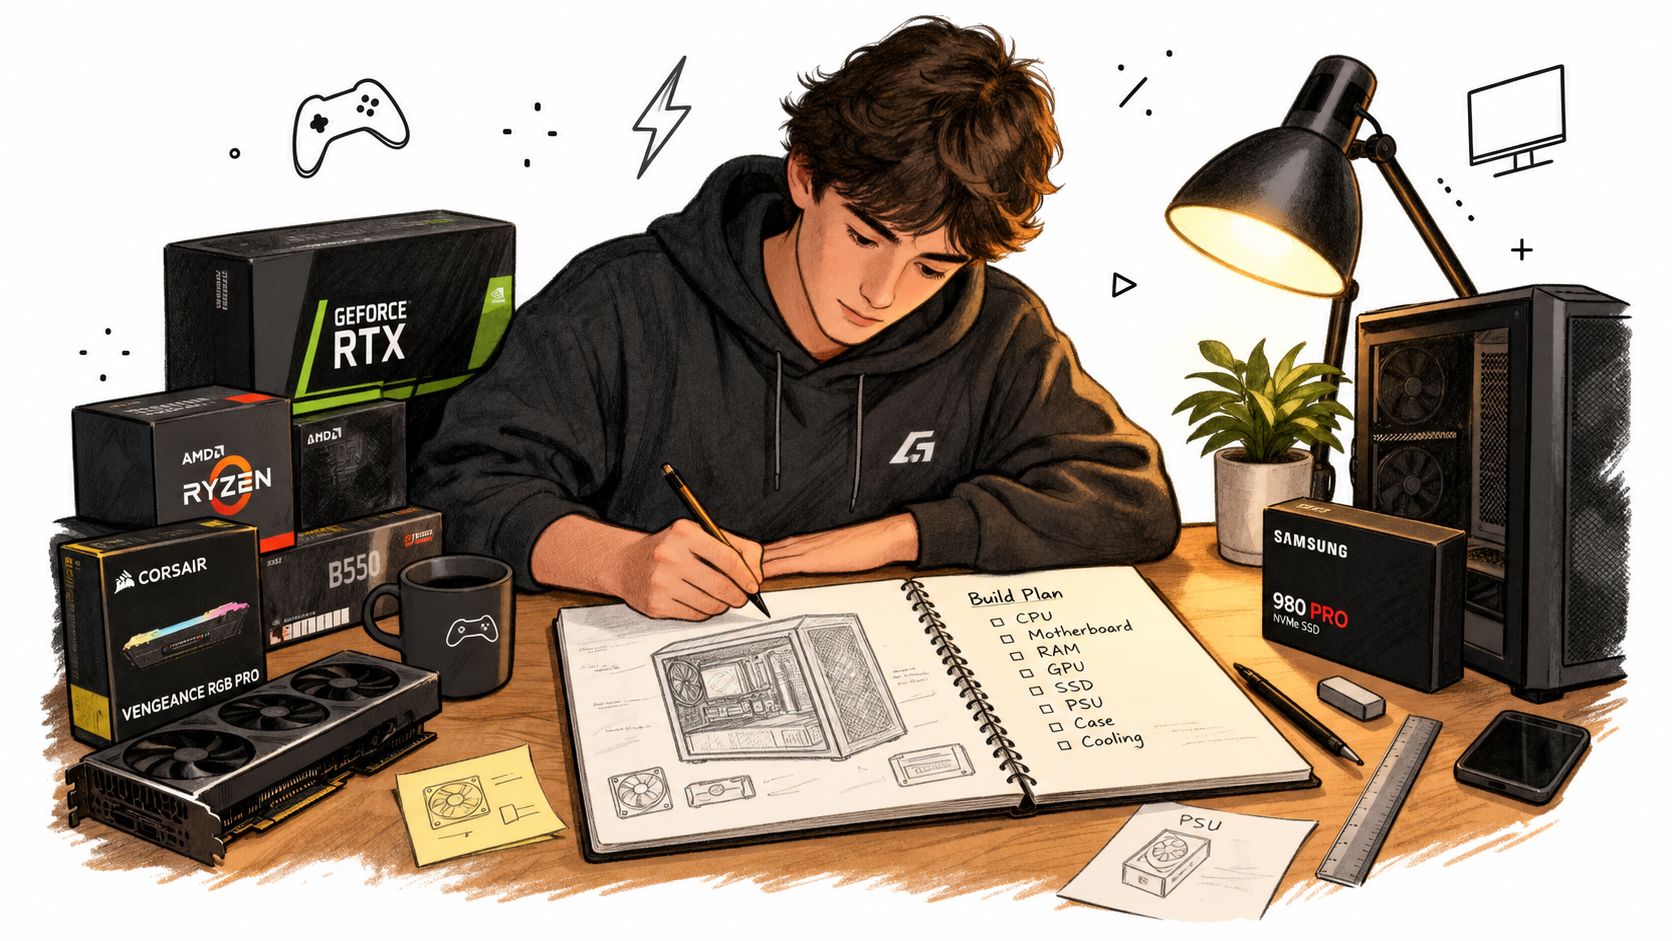
UK buyers continue to value the flexibility of PC hardware. In 2024, UK PC-hardware sales reached £715 million, up 6% from 2023, while console-hardware spending fell 24% to £723 million, with PC growth driven mainly by gaming PCs and gaming monitors, as reported by UKIE's games industry update. Those figures don't tell you which parts to purchase, but they do support a practical observation: upgradeability remains a major reason to choose a PC.
A sensible build might begin with 16 GB or 32 GB of RAM and an SSD, leaving room for more storage or a later graphics upgrade. That only works if the motherboard has suitable slots, the power supply has enough capacity and the case accepts the intended hardware.
Think in systems, not shopping lists
A gaming PC works as a chain. The graphics card renders frames, the processor prepares game logic, memory feeds active tasks, storage loads data, the power supply delivers stable current and cooling keeps temperatures under control. A weak link can turn an otherwise impressive specification into a noisy, inconsistent machine.
Practical rule: Choose the monitor and games first. Select the components around that experience, not around a single headline specification.
The same principle applies if you ask someone else to build the system. Give them your games, resolution, refresh-rate target, noise preference and upgrade plans. A useful brief makes it easier to avoid paying for performance you won't see, while protecting the parts that affect reliability.
Planning Your Components and Budget
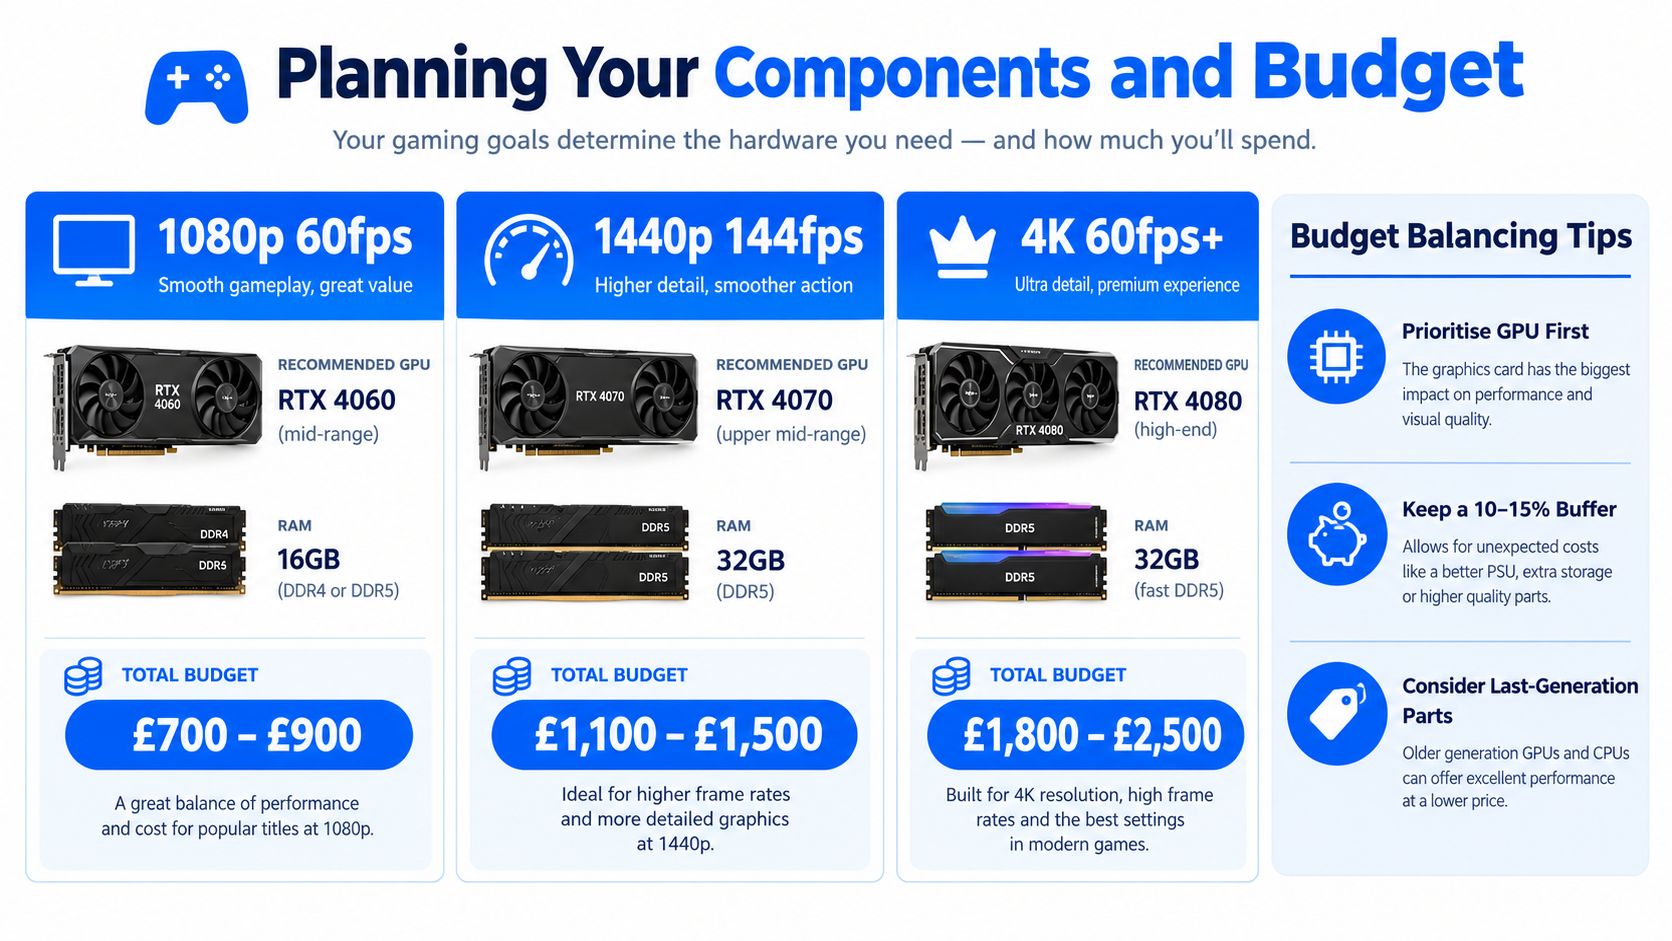
Start with the display. A competitive player using a 1080p high-refresh monitor may need a stronger processor and fast memory to maintain high frame rates, while a 1440p or 4K player usually puts more of the budget into graphics performance. Someone who streams, edits video or keeps several applications open may also need additional CPU cores, 32 GB or more of memory, and quick storage. These workload distinctions align with Ofcom's finding that 52% of UK people aged 16 and over played games on devices in 2023, while UK gamers aged 16 to 64 averaged 6 hours 57 minutes of gaming per week in Q2 2024. Ofcom's Online Nation 2024 report provides the wider context.
Match the major components
For a typical 1080p or 1440p system, a single mid-tier GPU is often a more sensible choice than an enthusiast model. A high-refresh display can justify more graphics capability beyond 60 frames per second, but only if the CPU, cooling and power delivery can support it.
Graphics card: Prioritise the GPU that matches your resolution and image-quality settings. Don't pay for high-end rendering power if your monitor can't display the benefit.
Processor: Competitive games and high refresh rates can place greater demand on the CPU. Streaming and content creation also favour extra cores.
Memory: Begin with a capacity that suits your games and other applications, then check the motherboard's supported memory generation and slot layout.
Storage: An SSD makes a practical foundation for Windows and games. Leave expansion options rather than filling every slot immediately.
Cooling: A powerful processor needs a cooler and case airflow that can remove sustained heat. A large GPU also needs clear intake and exhaust paths.
Power supply: Add the CPU and GPU manufacturer power figures, allow roughly 100 W for the motherboard, drives, fans and USB devices, then choose a quality PSU with approximately 20% to 30% additional capacity, as advised in this UK custom-build power and testing guide.
UK pricing needs its own basket. Components carry 20% VAT, and a graphics card with a US MSRP equivalent to about £480 may commonly reach £550 to £620 after VAT and retailer margin, according to UK upgrade and pricing guidance. UK coverage places a 1080p gaming PC around £800 to £900, with a 1440p monitor adding roughly £200 to £350 and peripherals another £100 to £250. Include Windows, Wi-Fi, delivery and a contingency before deciding that a parts list is affordable.
If streaming matters, separate the PC budget from the broadcast setup. A practical guide to Twitch streaming on a budget can help you decide which microphone, camera and lighting purchases can wait.
Before ordering, run the complete parts list through a PC component compatibility checker. Check the CPU socket, chipset, memory generation, GPU length, cooler height, radiator clearance and firmware requirements. For example, current AMD AM5 processors require an AM5 motherboard and DDR5 memory. That kind of platform mismatch is easier to prevent than to repair.
The Assembly Process from Bare Bones to Power
Clear a large, well-lit desk and remove the PC from UK mains power before touching any components. Don't open the PSU enclosure. It contains potentially lethal mains voltages, even when unplugged. Keep components in their anti-static packaging until you need them, and handle circuit boards by their edges rather than pressing on chips or contacts.
Begin with the motherboard outside the case. Install the processor by matching the socket marker and lowering the retention mechanism without force. Fit the M.2 SSD into its slot, secure it correctly and remove any protective film from the heatsink before replacing it. Install the memory in the paired slots specified by the motherboard manual. If the modules don't seat with moderate, even pressure, stop and check their orientation.
Mount the CPU cooler next. Apply thermal compound if the cooler doesn't have it pre-applied, tighten the mounting screws gradually in a cross pattern, then connect the cooler's fan or pump cable to the correct motherboard header. This stage is easier outside the case because you can see the socket and mounting hardware clearly.
Give the case a deliberate layout
Check the case standoffs against the motherboard mounting holes. A spare standoff in the wrong position can contact the underside of the board and cause a fault, so remove anything that doesn't align. Fit the rear I/O shield if the motherboard uses a separate one, lower the board into place and tighten the screws until secure, not until the board bends.
Install the PSU with its intake facing a ventilated area. Route the 24-pin ATX cable and CPU EPS cable before the graphics card blocks access. Connect storage, front-panel switches, USB headers and audio according to the motherboard manual. Cable management isn't only cosmetic. Keep thick cables away from fans and preserve a clear route from front intake fans to the CPU cooler and rear or top exhaust.
Build slowly: If a connector needs excessive force, its alignment is probably wrong. Recheck the keyed shape, latch position and manual before pushing harder.
Fit the graphics card into the main PCIe slot, remove the matching case brackets and press the card down until the slot latch engages. Secure it to the case and attach the required PCIe power leads. High-current 16-pin GPU connectors need to be fully inserted and routed without a sharp bend near the plug. Don't substitute an uncertain adapter when the PSU has a suitable native cable.
Perform a first boot before final cable tidying. Connect the monitor, keyboard and power cable, then switch on. If the system doesn't start, return to fundamentals: check the motherboard power connectors, front-panel switch connection, memory seating, GPU power and display cable. A methodical check beats repeatedly pressing the power button.
BIOS Setup, Operating System and First Tests
The first successful power-on is only the beginning. Enter UEFI and confirm that the processor, full memory capacity, M.2 drive and graphics card are detected. Check fan readings and storage mode before installing Windows. If the board requires a firmware update for the processor, follow the manufacturer's procedure rather than assuming the system will boot automatically.
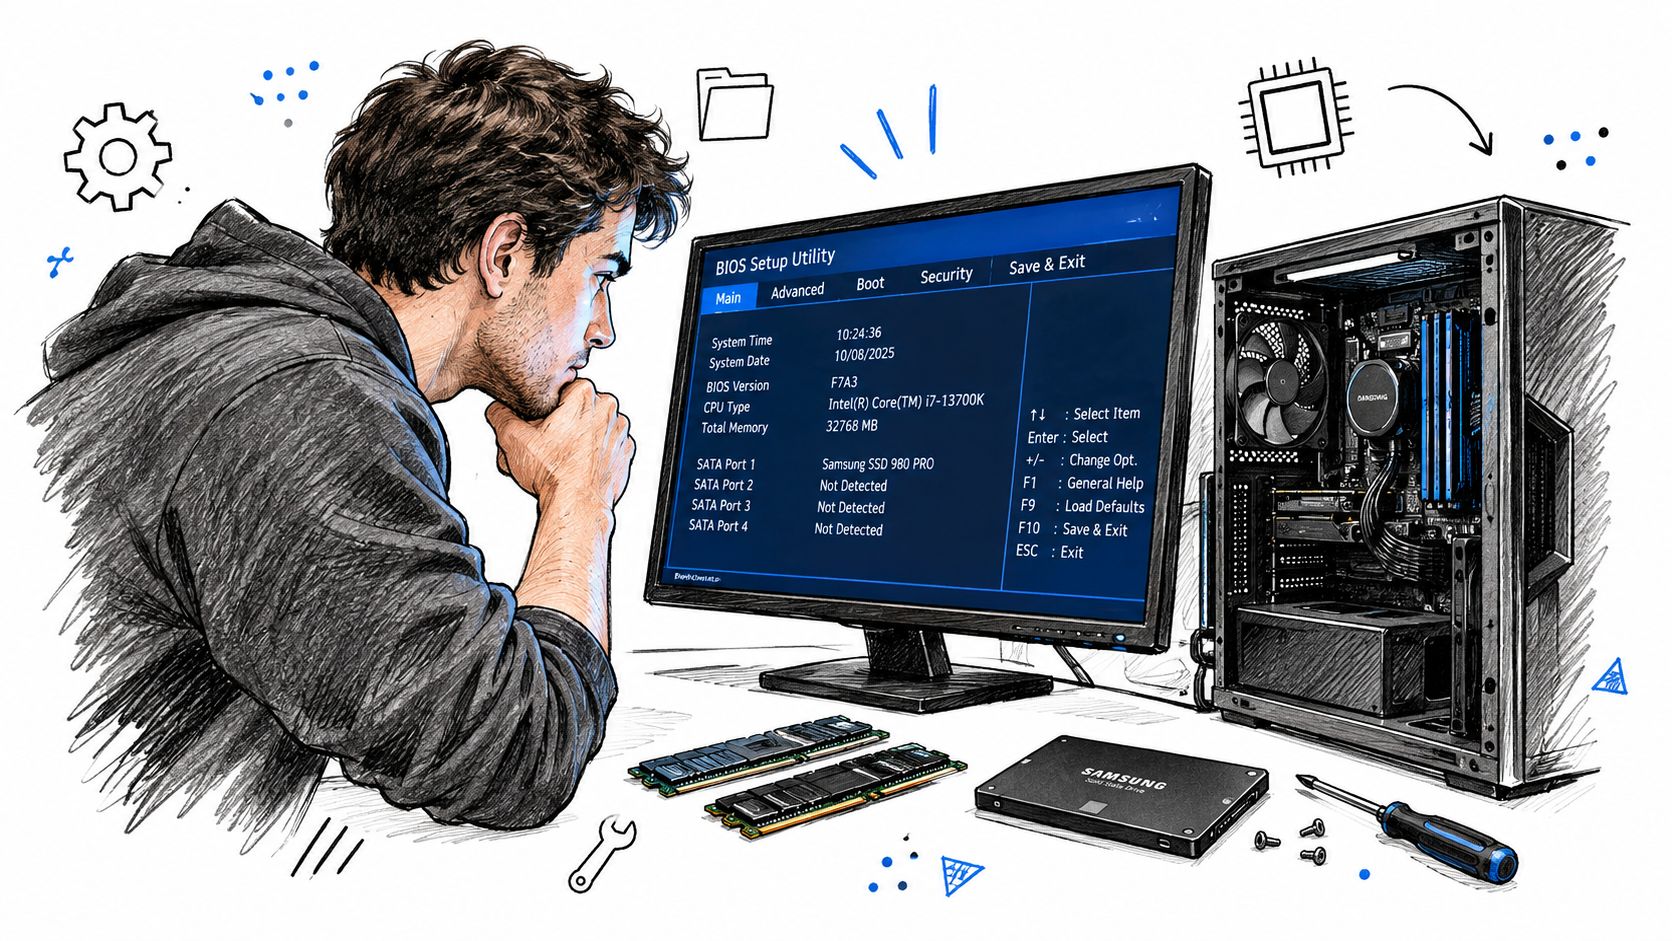
Memory often runs below its advertised profile until you enable the relevant setting, such as XMP or DOCP, where supported. Save changes, reboot and check that the machine remains stable. If you're unsure whether the firmware interface is using a traditional BIOS name or modern UEFI, this UEFI versus BIOS explanation clarifies the distinction without changing the practical setup process.
Install Windows, motherboard chipset drivers, graphics drivers and network drivers. Apply Windows updates, then install monitoring software that can show CPU temperature, GPU temperature, hotspot readings, clock speeds and fan behaviour. Don't judge the build from one successful desktop boot. A gaming PC needs to remain stable under sustained load.
Test in layers
Start with a cold boot and restart. Check USB ports, Ethernet or Wi-Fi, audio and sleep/wake behaviour. Then run a CPU stress test and a GPU load test separately before launching a demanding game. Finally, test the system with the workloads you use regularly, such as a game alongside streaming software.
Record temperatures, fan speeds, clock behaviour, crashes and frame-time spikes. Sustained thermal throttling, unexplained shutdowns, visual artifacting or WHEA errors indicate a failed build that needs investigation, even if a benchmark produces an attractive score.
The video below can help visualise the general sequence, but your motherboard and cooler manuals remain the authority for connector locations and firmware settings.
A stable result is more valuable than a peak benchmark number. If temperatures are high, improve airflow or adjust fan curves. If frame times fluctuate, investigate CPU limits, memory configuration, background software and thermal throttling before replacing the graphics card.
Considering Professional Custom Build Services
DIY makes sense when you enjoy research, have time to assemble carefully and are comfortable diagnosing a problem if the first boot fails. It also gives you direct knowledge of the machine, which helps when you add storage, change a cooler or replace a graphics card later. The downside is that each part has its own warranty route, and you must identify the faulty component before starting that process.
A local custom-build service changes the division of labour. You still choose the outcome, but a workshop can check the parts list, assemble the system, configure Windows and drivers, and test the finished machine. That can be useful when a mistake would delay work, study or a planned gaming setup.

When paying for assembly is sensible
A professional build isn't automatically cheaper than DIY. Its value comes from reducing avoidable errors, wasted purchases and troubleshooting time. If the build includes a high-end GPU, specialist cooling, several drives or a tight case layout, the cost of incorrect compatibility can quickly outweigh the appeal of saving on assembly.
Steel City IT's custom PC builder guidance describes the sort of service a Sheffield buyer can look for: component selection, assembly, configuration and testing rather than a bare box of parts. Steel City IT is based in Frecheville and also handles diagnostics, repairs, upgrades, storage work and data services, so an existing PC may be worth assessing before you replace it.
Ask any provider for a complete specification. It should identify the processor, graphics card, memory, storage, motherboard, PSU, cooling, case, wireless connectivity and operating-system arrangement. Confirm what testing is included and how support works if the machine crashes after delivery.
A hybrid approach often works well. You can choose the monitor and games, research the performance target and buy the parts, then pay for compatibility checking and assembly. Alternatively, provide a budget and usage brief and ask the builder to explain where each pound goes. The important point is transparency, especially in a UK market where VAT and imported pricing can make US-based build advice misleading.
Final Verification and Ongoing Maintenance
Before calling the build finished, complete a short acceptance checklist:
Physical inspection: Confirm that every fan spins, the GPU is supported, cables are clear of blades and no protective film remains on a cooler cold plate.
Firmware check: Verify memory capacity, storage detection, fan control and the intended memory profile in UEFI.
Connection test: Check USB, Ethernet or Wi-Fi, audio, display outputs, sleep/wake and restart behaviour.
Load test: Run CPU, GPU and game workloads while recording temperatures, hotspot readings, clocks, crashes and frame-time stability.
Software upkeep: Keep Windows, chipset drivers and graphics drivers current, but avoid changing several stability settings at once.
Dust affects airflow, particularly in rooms with carpets, pets or limited ventilation. Power the system down, isolate it from mains power and clean filters and fans carefully. Review temperatures after cleaning rather than assuming the result.
Keep a simple record of normal temperatures and frame-time behaviour for your regular games. A gradual change is easier to spot when you know what a healthy system looked like. If performance drops, check background software, driver changes, dust, storage health and cooling before buying new hardware.
The best custom gaming PC is balanced, tested and maintainable. Spend on the parts that affect your target experience, preserve sensible upgrade paths and treat stability as part of performance.
Steel City IT offers Sheffield customers custom gaming PC design, assembly, configuration and testing, alongside repairs and component upgrades. If you'd rather have compatibility and reliability checked before you start gaming, visit Steel City IT to discuss your build or existing PC.